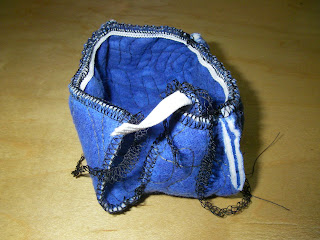
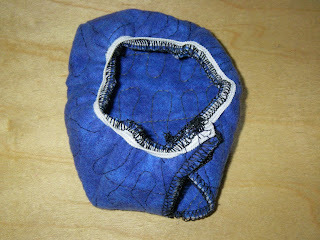
Here is how I made a receiver pouch and an insulin pump cover. Before starting, you should check the dimensions of your particular items. The receiver pouch mounts on a belt and could easily hold a camera or cell phone instead. The pump cover is similar to a shower cap in that it has elastic and slips over the front. You could use pre-quilted fabric. I free motion quilted 2 layers of flannel together (with batting in between).
First, the receiver pouch:
Cut a piece of fabric 12"x6", slightly rounding one end. Bind or finish the edges. Cut unquilted fabric 8"x2 1/2" for the belt loop. Sew the short sides together, 1/4" seam allowance.
Press flat with the seam in the middle.
Sew the belt loop to the pouch as shown, turning under raw edges.
Loop is 5 1/4" from the straight, bound edge.
Right sides together, fold up and sew, the straight edged end, 1/4" seam allowance.
Sew across the corners, as shown. Turn under and top stitch the sides down.
Top stitch the sides down and add Velcro.
Finished front view.
Back view of the belt loop.
Now for the Insulin Pump Cover.
I used the same quilted fabric as before. Cut a piece 5"x6 1/2". Then cut each corner off, creating four 1 1/4"x1 1/4" squares. In one corner, cut an additional notch out for the hose.
* Make sure you cut the notch in the correct area for your hose!
Sew the 3 similar corners together, right sides together 1/4". The notched corner will need finishing- I used a serger, you could bind or zigzag instead.
Sew on 7" of 1/4" elastic, extending into the notched area.
Sew on Velcro.
Here is the back finished view.
Here is the front finished view.
Your sizes might vary according to your needs.
Happy Sewing!


No comments:
Post a Comment
Thank you for commenting!